Understanding Your WildView Trail Camera
Recent tech news highlights advancements in processors, storage, and AI-powered PCs, impacting camera technology and data management for trail camera users.
What is a Trail Camera and Its Uses?
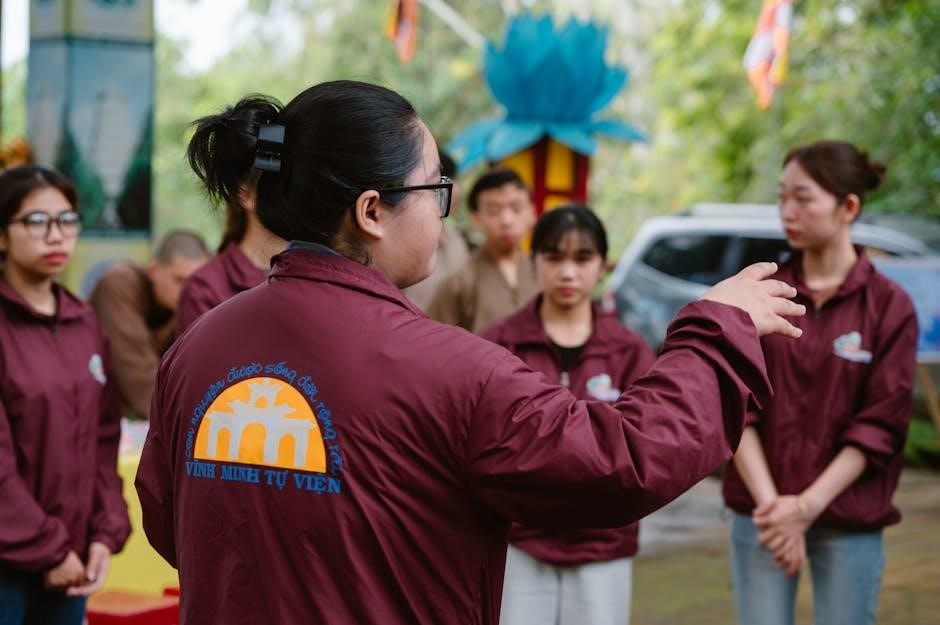
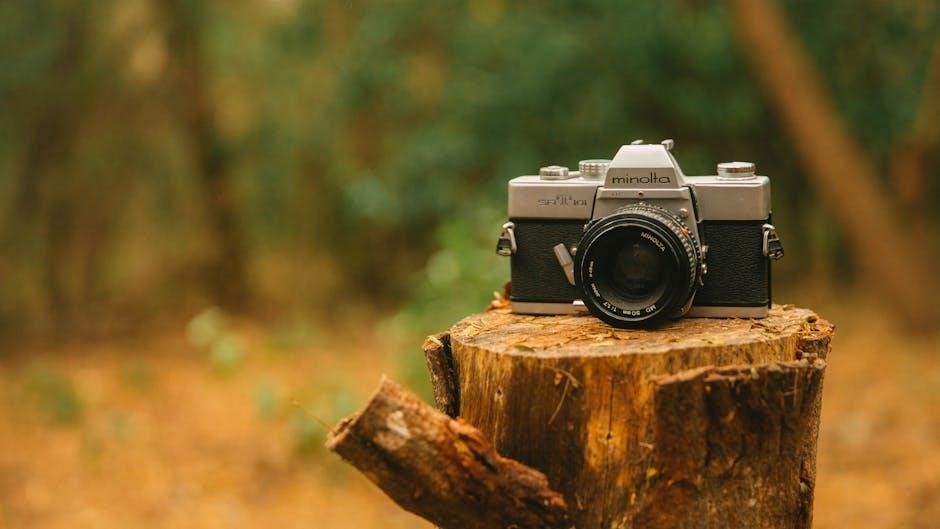
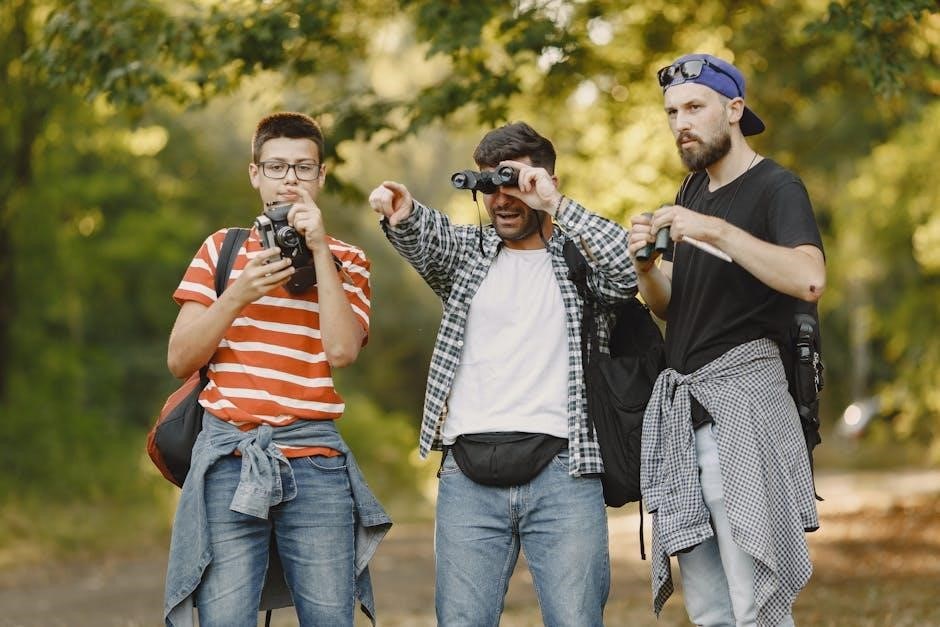
Trail cameras, also known as game cameras, are remotely triggered devices designed to capture still images or videos of wildlife. Originally popular with hunters to scout game patterns, their uses have dramatically expanded. Today, they’re invaluable for security monitoring, documenting animal behavior, and research purposes.
Modern cameras, like the WildView, leverage advancements in processor technology and storage (like pCloud for data backup) to deliver high-resolution imagery and extended recording capabilities. The recent surge in AI integration, as seen in Intel’s Core Series 3, hints at future cameras with smarter detection and classification features. They offer a discreet, automated way to observe environments without human presence.
Key Components of the WildView Camera
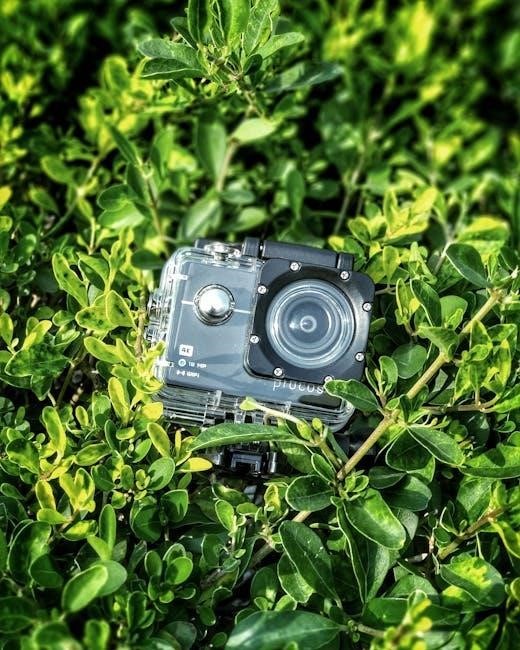
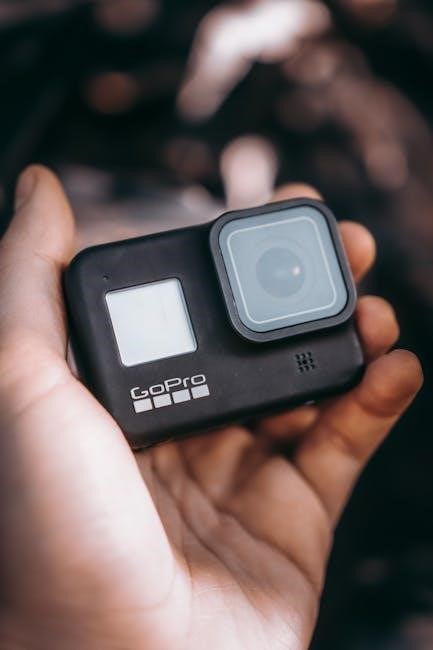
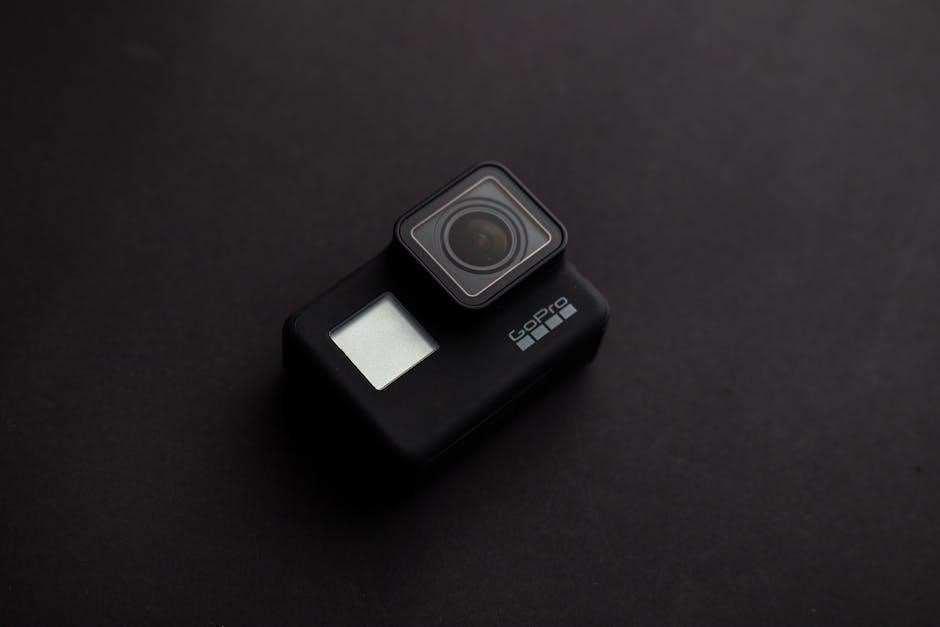
The WildView camera comprises several essential parts. A high-resolution image sensor captures photos and videos, while the processing unit, benefiting from advancements like Intel’s 18A engraving, manages image quality and trigger speed. A passive infrared (PIR) sensor detects motion, initiating recording.
Crucially, it requires SD card storage for captured media, and batteries for power. The camera’s housing provides weather resistance. Newer models may include features like a custom watermark setting and remote control functionality. Considering the increasing data volumes, utilizing cloud storage like pCloud is advisable for backups, mirroring trends in PC IA storage solutions like Nvidia’s DGX Spark.
Initial Setup and Configuration
Proper setup is vital. Begin by ensuring compatibility with current tech, like Windows 12, and preparing necessary components for optimal performance and data storage.
Inserting Batteries and SD Card
Begin by carefully locating the battery compartment, typically secured with a latch. Insert the correct number and type of batteries, observing the proper polarity as indicated inside the compartment – crucial for reliable operation. Next, identify the SD card slot; it usually accepts microSD cards. Gently insert the SD card until it clicks into place, ensuring it’s firmly seated.
Compatibility is key; check your camera’s specifications for supported SD card sizes and speeds. Recent advancements in storage, like pCloud, demonstrate the importance of reliable data retention. A properly inserted SD card is essential for capturing and storing images and videos, allowing you to review your wildlife observations later.
Powering On and Initial Time/Date Setting
To power on your WildView camera, locate the power button – often alongside the menu or test button. Press and hold it briefly until the display illuminates. Accurate time and date settings are vital for correct image and video timestamping. Navigate to the settings menu using the buttons, and find the time/date option.
Input the current date and time carefully, following the displayed format. Recent tech news highlights Intel’s advancements in processor series, impacting device responsiveness. Confirm your settings and save them. Proper time synchronization ensures your captured data is chronologically organized, aiding in wildlife behavior analysis and event tracking.
Navigating the WildView Camera Interface
The interface utilizes buttons and a display; understanding these controls is key to customizing settings and reviewing captured content efficiently, like new PC AI features.
Understanding the Menu System
The WildView camera’s menu system is logically structured, allowing users to navigate settings with relative ease. Expect options for image/video resolution, trigger settings, and capture modes. Recent advancements in processing power, as seen in Intel’s Core Series 3 and AMD’s Ryzen 9, translate to faster menu responsiveness.
Utilize the display screen and directional buttons to scroll through options. Submenus often exist for more granular control. Familiarize yourself with icons representing different features – a video camera icon indicates video settings, for example. Remember to save any changes made before exiting a menu, ensuring your preferences are retained. Efficient navigation is crucial for optimal performance.
Button Functions and Display Indicators
The WildView camera features a set of intuitive buttons for operation. Typically, a ‘Menu’ button accesses settings, directional buttons navigate options, and an ‘OK’ or ‘Select’ button confirms choices. A ‘Power’ button controls the device. Display indicators provide crucial feedback – battery level, SD card status, and signal strength are commonly shown.
Pay attention to flashing icons; these often signal active recording or low battery. Advancements in display technology, mirroring those in new PCs like Nvidia’s DGX Spark, ensure clear visibility even in bright sunlight. Understanding these indicators minimizes guesswork and maximizes efficient camera usage in the field.
Camera Settings: Capturing the Best Images
Optimizing resolution and trigger speed, influenced by processor advancements like Intel’s Core Series 3, is key for clear, timely wildlife captures with your WildView camera.
Image Resolution and Quality Settings
Your WildView camera offers several image resolution options, directly impacting file size and detail. Lower resolutions (e.g., 640×480) conserve SD card space, ideal for long deployments and rapid event capture, but sacrifice clarity. Higher resolutions (e.g;, 12MP, 20MP) deliver stunning detail, perfect for identifying animals or features, but consume more storage.
Quality settings further refine image appearance. Higher quality settings minimize compression artifacts, preserving finer details, while lower settings reduce file size. Consider the balance between image quality and storage capacity based on your monitoring goals. Recent advancements in processor technology, like those seen in AMD Ryzen processors, enable faster image processing and potentially higher resolution options.
Video Resolution and Length Options
The WildView camera provides a range of video resolutions, from basic VGA to Full HD (1080p) and potentially even higher, depending on the model. Higher resolutions capture more detail, crucial for identifying moving subjects, but demand significantly more storage space on your SD card. Consider your needs – quick event verification versus detailed behavioral analysis.
Video length settings determine recording duration. Shorter clips (e.g;, 10 seconds) conserve storage, while longer clips (e.g., 60 seconds, several minutes) capture more complete events. New AI-powered PCs, like Nvidia’s DGX Spark, can efficiently process these larger video files. Balancing resolution, length, and storage is key for optimal performance.
Trigger Speed and Sensitivity Adjustment
Trigger speed dictates how quickly the camera begins recording after detecting motion. Faster trigger speeds (under 0.5 seconds) are vital for capturing fast-moving animals, minimizing the chance of missing crucial moments. However, extremely fast speeds can lead to more false triggers from wind or vegetation.
Sensitivity settings control the level of motion needed to activate the camera. Higher sensitivity detects even subtle movements, useful for smaller animals, but increases false triggers. Adjusting these settings requires experimentation based on your specific environment. Recent processor advancements, like Intel’s Core Series 3, enhance image processing for clearer results.
Detection and Capture Modes
Modern cameras offer diverse capture options, including motion detection, time-lapse, and interval recording, leveraging new AI capabilities for optimized performance;
Motion Detection Mode Explained
Motion detection is a core function, activating the camera only when movement is present, conserving battery life and storage space. The WildView camera utilizes a Passive Infrared (PIR) sensor to detect heat signatures, triggering image or video capture. Sensitivity adjustments are crucial; higher sensitivity detects smaller movements at greater distances, potentially leading to false triggers from wind or vegetation. Lower sensitivity reduces false alarms but might miss quicker or smaller animals.
Understanding the PIR sensor’s field of view is also important for optimal placement. Experimenting with settings and reviewing captured footage will help fine-tune motion detection for your specific environment and desired results.
Time-Lapse Photography Mode
Time-lapse mode captures images at pre-defined intervals, creating a condensed view of events over an extended period. This is ideal for observing plant growth, animal activity patterns, or weather changes. The WildView camera allows you to set the interval – the time between each captured image – ranging from seconds to hours. Shorter intervals create smoother, more detailed time-lapses, while longer intervals compress time significantly.
Consider the desired effect and battery life when selecting an interval. Reviewing the resulting images requires a compatible program to assemble them into a video or slideshow. Experimentation is key to achieving the perfect time-lapse sequence.
Interval Recording Settings
Interval recording differs from time-lapse; it continuously records video clips at specified intervals, rather than still images. This mode is useful for monitoring activity without capturing every single moment, conserving storage space and battery life. The WildView camera’s settings allow precise control over the recording interval duration and the length of each video clip.
Shorter intervals provide more frequent recordings, while longer intervals reduce data volume. Carefully consider the anticipated activity level and desired level of detail when configuring these settings. Regularly check the SD card capacity to avoid interrupted recording.

Advanced Features and Customization
New processor technologies and AI advancements enable features like custom watermarks, multi-shot options, and potentially remote control capabilities for enhanced WildView camera functionality.
Setting a Custom Watermark
Personalizing your images is now easier than ever! The WildView camera allows you to imprint a custom watermark directly onto each captured photo or video. This feature is invaluable for identifying the source of your footage and deterring potential misuse. Access the camera’s menu system, navigate to the ‘Watermark’ settings, and you’ll be presented with options to input text.
You can typically customize the watermark’s font size, color, and position on the image. Consider including information like your name, location, or a unique identifier. Remember to save your settings after customization to ensure the watermark is consistently applied. This subtle addition adds a professional touch and safeguards your valuable wildlife observations.
Multi-Shot and Burst Mode Options
Capture every detail with enhanced shooting modes! The WildView camera offers ‘Multi-Shot’ and ‘Burst’ modes to increase your chances of getting the perfect image, especially when tracking fast-moving wildlife. Multi-Shot captures a series of images at set intervals after initial motion detection. Burst mode, conversely, rapidly takes multiple photos in quick succession – essentially a continuous shooting function.
Access these options within the camera’s settings menu. Adjust the number of shots and the interval between them to suit your specific needs. Utilizing these modes is particularly useful for documenting animal behavior or ensuring a clear shot during fleeting moments. Experiment to find the optimal settings for your environment!
Remote Control Functionality (if applicable)
If your WildView model includes remote control capabilities, you gain convenient access to camera settings and live viewing without disturbing the camera’s location; Typically, this involves a dedicated remote or smartphone app connectivity via Bluetooth or Wi-Fi. The remote allows you to trigger photos, start/stop video recording, and adjust settings like sensitivity and resolution from a distance.
Refer to the specific instructions included with your camera model for detailed pairing and operation procedures. Remote control enhances security and minimizes scent disruption, crucial for successful wildlife observation. Ensure the remote has sufficient battery life for reliable operation in the field.
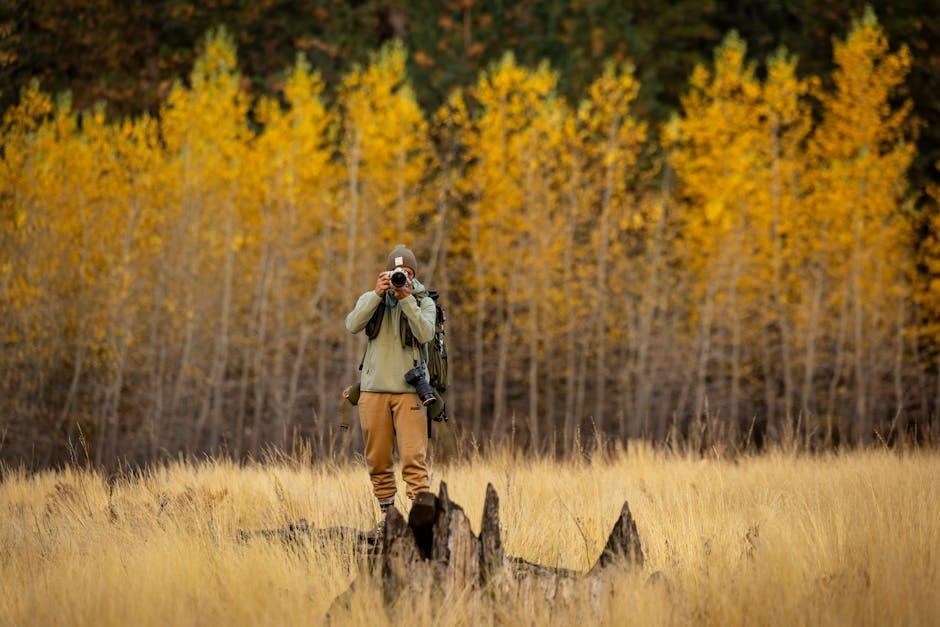
Mounting and Placement Strategies
Optimal placement maximizes detection; secure mounting prevents theft and ensures stable footage, crucial for capturing clear images of wildlife activity.
Optimal Camera Height and Angle
Achieving the best results with your WildView camera hinges on strategic placement. Generally, a height of 3-5 feet (0.9-1.5 meters) offers a good balance, capturing a wide field of view without being overly obstructed by vegetation. However, consider the target animal; for larger creatures, a slightly higher angle might be beneficial.
Angle is equally important. Avoid pointing the camera directly at the sun to prevent glare and washed-out images. A slight downward angle helps capture more detail and reduces the chance of capturing only the tops of animals’ heads. Experiment with minor adjustments to find the sweet spot for your specific location and desired outcome; Remember to periodically check and readjust as vegetation grows.
Securing the Camera to Trees or Posts
Properly securing your WildView camera is crucial for preventing theft and ensuring stable footage. Utilize the provided mounting strap, ensuring it doesn’t girdle the tree – allow for growth! For posts, consider a robust bracket and padlock for added security.
Always prioritize tree health. Avoid using nails or screws that can damage the bark. Regularly inspect the strap for wear and tear, and adjust as needed. Camouflage the camera and strap with natural materials to blend into the environment, further deterring potential thieves and minimizing disturbance to wildlife. A stable mount minimizes blurry images caused by movement.
Troubleshooting Common Issues
Tech updates reveal potential software glitches and hardware failures, mirroring issues users might encounter with their WildView cameras, requiring careful diagnostics.
Camera Not Powering On
If your WildView camera fails to power on, begin with the basics. First, ensure the batteries are correctly installed, observing proper polarity (+/-). Utilize a fresh set of batteries, as low battery power is a frequent culprit. Confirm the SD card is properly inserted; sometimes, a faulty or improperly seated card can prevent startup.
Next, inspect the power switch, ensuring it’s fully engaged. If the issue persists, try a different SD card to rule out card-related problems. Check the battery compartment for any corrosion or debris that might impede contact. Finally, consult the user manual for specific troubleshooting steps related to your WildView model, as certain cameras have unique power-saving features or reset procedures.
Poor Image Quality Troubleshooting
Addressing blurry or low-quality images starts with lens cleanliness. Gently wipe the lens with a microfiber cloth to remove dust, dirt, or smudges. Verify sufficient ambient light; trail cameras rely on it. Adjust image resolution settings within the camera’s menu – higher resolution generally yields sharper images, but consumes more storage.
Check trigger speed and sensitivity. A slow trigger might miss crucial moments, while excessive sensitivity can cause blurry images from rapid movements. Ensure the camera is securely mounted to minimize vibrations. Finally, consider the distance to the subject; images become less clear with increased distance.
SD Card Errors and Solutions
Encountering SD card issues is common. First, ensure the card is compatible with your WildView camera – check the supported capacity and speed class (usually Class 10 or UHS-I). Formatting the SD card within the camera (not on a computer) often resolves errors. If the camera doesn’t recognize the card, try a different card to isolate the problem.
Corrupted data can occur. Regularly back up images to a computer. Avoid removing the card while the camera is writing data. If formatting fails, a computer format (FAT32) might be necessary, but always reformat in the camera afterward. Consider a higher-quality SD card for increased reliability.